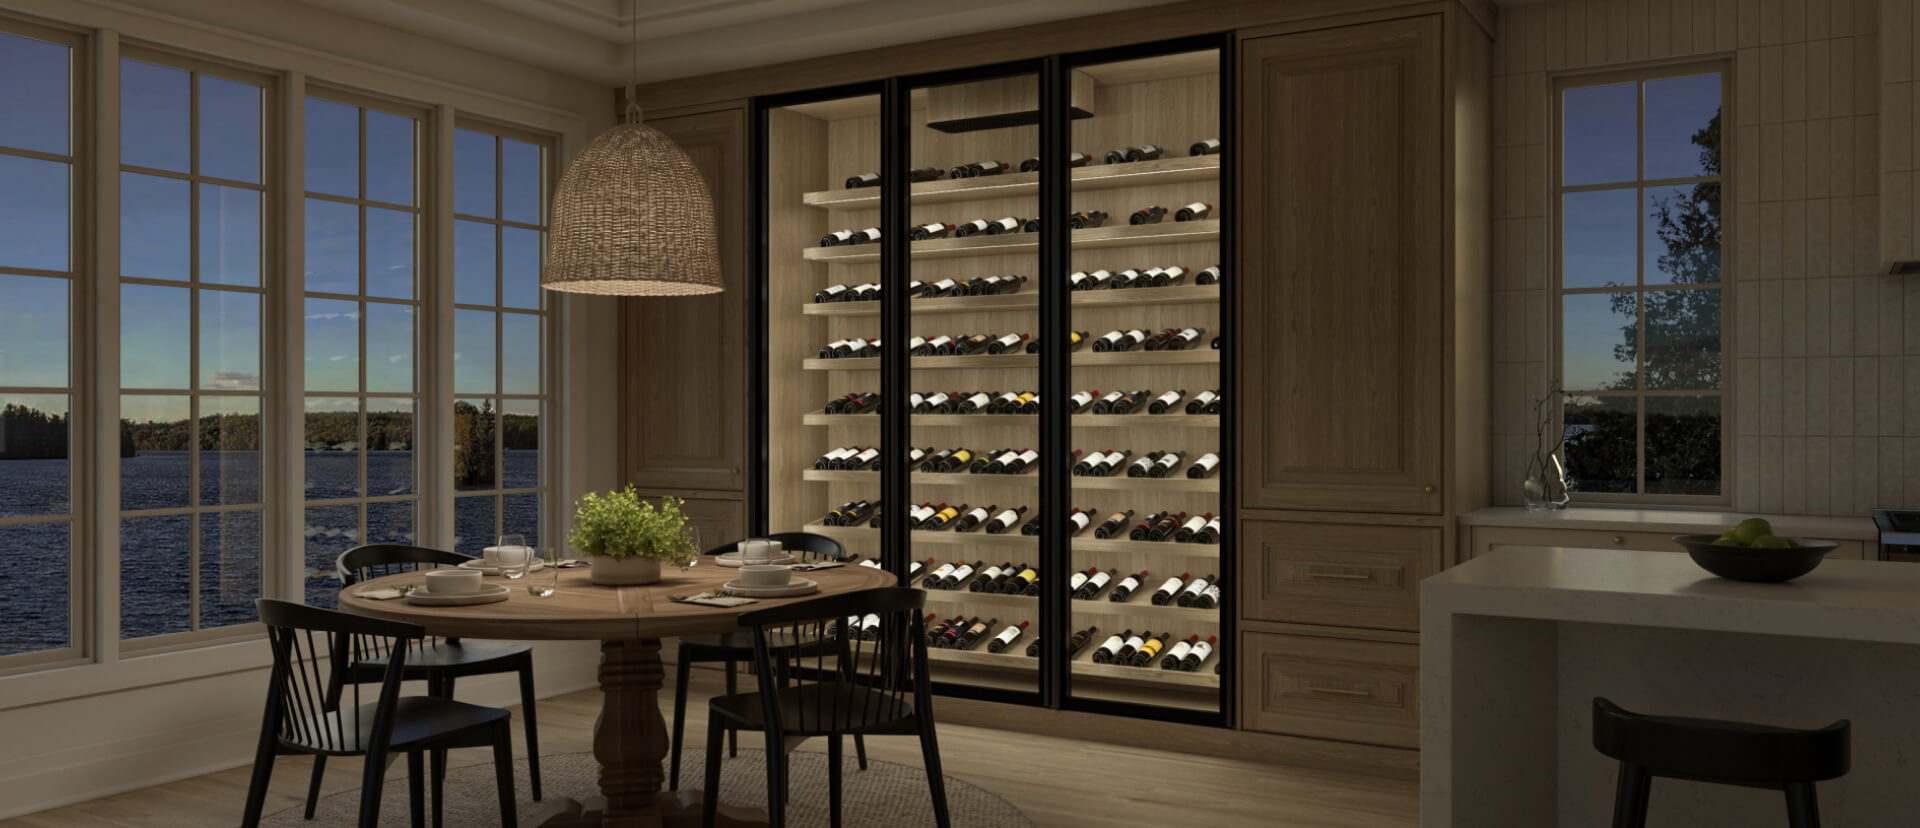
How to Install the Cooler for Your Wine Cellar

A simple two-step installation
The CubeLT installation is carried out in two stages. The first is done just before the walls are closed, when communication cables, conduits and a nailing bottom are installed to ensure the proper functioning of the cooling system.
Step 1
Preparing the location
The material used for the first stage of the installation are insulated PEX*, wich is a flexible and easy to install material that makes it possible to efficiently link the different units.
Step 2
Turning the system on
The second step is much simpler: simply power up and start the complete system.

* If you wish to use a different type of ductwork during installation, contact The Wine Square to determine which product is best suited. And refer to your industry or building regulations before using plastic conduit such as PEX.
** It is also possible to complete installation in one step, for cases such as renovations. The conduits can be visible, or passed through small openings at strategic places to pass the tubes between the wine cellar and the compressor. Using flexible ducts help to avoid completely opening the walls, like when installing the conventional system with copper refrigeration ducts.
Selecting the Location
First, you need to select where each component will be installed. Although the cooling system pushes cold air when it is in operation, the device actually works to extract heat: the cold air is only a result.
It's a nuance that seems inconsequential, but when evaluating the location of the components, it becomes very important. Assuming that the system is a heat pump, it is important to consider certain elements.

The Water Chiller
The water chiller is used to produce cold water for the wine cellar, but it also expels heat produced by the cellar. It can be installed up to 30 meters (100 feet) from the main unit, in a well-ventilated room and in temperatures of 10°C to 30°C. A room with inadequate ventilation can cause overheating.
Buy now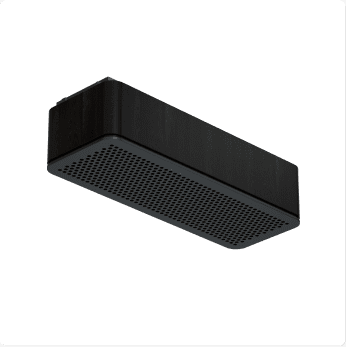
The RC4LT
The RC4LT diffuser tends to extract heat from the wine cellar. It must therefore be installed in the hottest part of the wine cellar; the ceiling. Depending on the configuration of the room, the unit will either be placed in the center or above the door.
Buy now
The control box
The control unit can be installed anywhere between the cooling system and the wine cellar. It is usually set up above the water cooler.
Buy nowMinimum requirements to ensure the proper functioning
Wine cellars must be built according to best practices to ensure the proper functioning of the cooling system and to maintain the warranty.
Regardless of the size of the cellar, the requirements remain the same. Insulating and sealing a wine cellar are the least expensive and most important elements. Whatever air conditioning system is selected, each time your system starts, it mortgages the life of your bottles, so it is essential to ensure that it starts as little as possible.
Installation manualGeneral
- Vapor or moisture barriers on all surfaces; this includes walls, ceiling and floor.
- Airtightness
Ceiling
- Minimum insulation of R7.5 or U0.13
Glass
- Minimum insulation of R4.5 or U0.22 with LOW-E protection
Floor
- Minimum insulation of R7.5 or U0.13
Walls
- Minimum insulation of R15 or U0.06
Failure to follow these conditions exposes cellar walls to condensation, poor humidity control, reduced compressor life, poor wine aging conditions, shutdowns and frequent compressor starts as well as a lack of power to reach the desired temperature.
Insulation present under a concrete slab is not considered floor insulation, unless the slab of the wine cellar is independent of the rest of the building and has a thermal break of at least 1”. The thickness of the concrete slab acts as a thermal bridge and injects heat around the perimeter of the wine cellar, the exact place where the bottles are normally stored.